If you’re on a team of two, five, or ten developers, you probably don’t have a dedicated DevOps engineer. But you still need code to ship reliably. You still need bugs caught before they hit production. And you still need every pull request tested automatically.
That’s exactly what a CI/CD pipeline does and it’s no longer just for big engineering teams.
This guide explains CI/CD pipelines in plain language, walks you through how to set one up, and helps you pick the right tools for your team size and budget in 2026.
What Is a CI/CD Pipeline?
A CI/CD pipeline is an automated workflow that takes your code from a developer’s machine to production automatically, reliably, and with minimal manual effort.
It removes the risky, repetitive work of shipping software: running tests, building the application, and deploying it to a server.
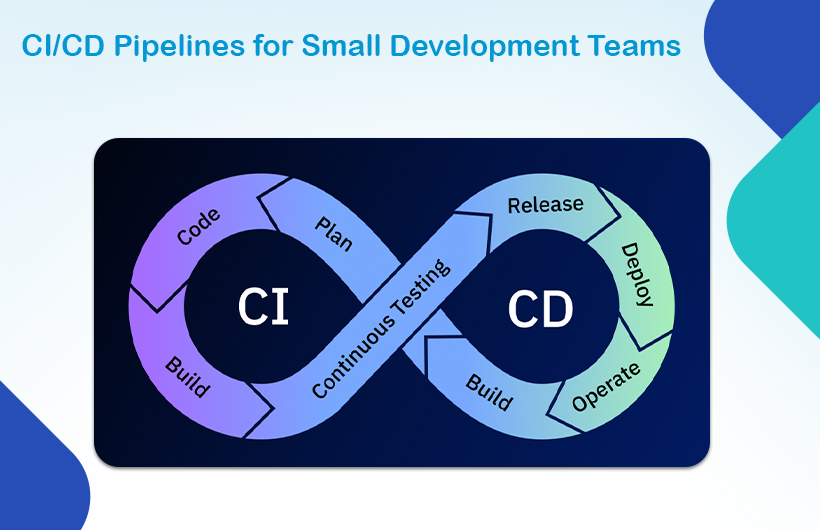
What Does CI Mean?
CI stands for Continuous Integration. It means every developer on your team merges their code into a shared branch frequently ideally multiple times a day. Each time someone pushes code, automated tests run immediately to catch problems early.
Without CI, you end up with what teams call “merge hell” where everyone works in isolation for days and then tries to combine everything at once. It’s painful, slow, and error-prone.
What Does CD Mean?
CD stands for either Continuous Delivery or Continuous Deployment these are slightly different:
- Continuous Delivery means your code is always in a deployable state, but a human still presses the button to release it.
- Continuous Deployment means every code change that passes tests is automatically released to production no manual step required.
For most small teams, Continuous Delivery is the right starting point. You get the automation benefits while keeping human control over what goes live.
Why Small Teams Need a CI/CD Pipeline
Small teams often think CI/CD is overkill. It’s not. In fact, it matters more when you’re small because you don’t have spare time to fix broken deployments or hunt down bugs that slipped through manual testing.
The Real Cost of Manual Deployments
Without a pipeline, deploying software usually means:
- A developer manually runs scripts or uploads files
- Tests get skipped because “it looks fine”
- Someone forgets a step and breaks production
- The team spends Friday afternoon fixing what broke on Friday morning
This is expensive in time, in stress, and in customer trust. A CI/CD pipeline removes all of it.
How CI/CD Helps Teams Without a Dedicated DevOps Engineer
You don’t need a DevOps specialist to run a good pipeline in 2026. Tools like GitHub Actions are designed for exactly this situation small teams that need production-grade automation without the complexity.
A well-set-up pipeline means:
- Every pull request is tested automatically
- The main branch is always deployable
- New developers can contribute without breaking production
- Deployments happen confidently, not anxiously
Key Stages of a CI/CD Pipeline for Small Teams
A CI/CD pipeline for a small team doesn’t need to be complicated. Here are the four core stages you need to get right.
1. Source: Code Push
The pipeline starts when a developer pushes code to a branch or opens a pull request. This is the trigger. Everything that follows is automated.
2. Build
The pipeline takes your source code and compiles or packages it into something that can run. For a Node.js app, this means installing dependencies and running the build command. For a Docker-based app, it means building the container image.
If the build fails, the pipeline stops and the developer is notified immediately.
3. Test
Automated tests run against the build. This typically includes:
- Unit tests — test individual functions or components
- Integration tests — test how different parts of the system work together
- Linting — check code style and formatting
If any test fails, the pipeline stops and the code is not deployed. This is the safety net.
4. Deploy
If the build succeeds and all tests pass, the pipeline deploys the application to your target environment staging, production, or both. This can happen automatically or after a manual approval step.
Best CI/CD Tools for Small Teams in 2026
You don’t need to spend a lot of money or manage complex infrastructure to get a great pipeline. Here are the top options for small teams today.
GitHub Actions
Best for: Teams already using GitHub
GitHub Actions is the most popular choice for small teams in 2026 and for good reason. It’s built directly into GitHub, requires minimal setup, and has a generous free tier. Workflows are written in YAML files that live inside your repository.
If you’re starting from scratch, start here.
GitLab CI/CD
Best for: Teams using GitLab for source control
GitLab has CI/CD built in, with powerful features like Auto DevOps that automatically configures pipelines using best practices. It’s a great all-in-one option if your team already uses GitLab for project management and code review.
CircleCI
Best for: Teams that need fast pipelines and parallel test execution
CircleCI is known for speed. It has smart caching and the ability to run tests in parallel, which cuts down build times significantly. It’s slightly more complex to configure than GitHub Actions, but worth it if slow pipelines are slowing your team down.
Bitbucket Pipelines
Best for: Teams using Atlassian tools (Jira, Confluence)
If your team runs on Atlassian’s ecosystem, Bitbucket Pipelines integrates naturally with your existing workflow. It’s simple, straightforward, and works well for small to mid-sized projects.
How to Set Up a Simple CI/CD Pipeline: Step by Step
Here’s a practical approach to setting up your first pipeline using GitHub Actions the lowest-friction option for most small teams.
Step 1: Create a Workflow File
In your repository, create a file at .github/workflows/ci.yml. This is where your pipeline lives.
Step 2: Define Your Trigger
Tell the pipeline when to run. For most teams, you want it to trigger on every push to main and on every pull request:
on:
push:
branches: [main]
pull_request:
branches: [main]
Step 3: Set Up Your Build Job
Define the environment and the steps to build your application:
jobs:
build:
runs-on: ubuntu-latest
steps:
– uses: actions/checkout@v3
– uses: actions/setup-node@v3
with:
node-version: ’20’
– run: npm install
– run: npm run build
Step 4: Add Your Tests
Add a test step after the build:
run: npm test
Step 5: Add Caching
This is the step most beginners skip and it makes a big difference. Caching your node_modules or build artifacts can cut pipeline run time in half:
- uses: actions/cache@v3
with:
path: ~/.npm
key: ${{ runner.os }}-node-${{ hashFiles(‘**/package-lock.json’) }}
Step 6: Enable Branch Protection
Go to your GitHub repository settings and require CI to pass before any pull request can be merged into main. This is what makes the pipeline actually enforce quality — not just report it.
Best Practices for Small Team CI/CD Pipelines
Getting a pipeline running is one thing. Getting it to actually work for your team is another. Here are the practices that matter most.
- Keep pipelines fast. A pipeline that takes 20 minutes will get ignored. Use caching, run tests in parallel where possible, and trim anything that does not need to run on every push. Aim for under 10 minutes.
- Fail fast. Put your fastest checks first linting and unit tests before integration tests. If something is going to fail, you want to know in 2 minutes, not 15.
- Notify the right people. Set up Slack or email notifications so the team knows about failures immediately. A failing pipeline nobody knows about is useless.
- Keep your main branch deployable. This is the whole point. If main is always deployable, you can release at any time without scrambling.
- Start simple and add over time. You do not need security scanning, code coverage reports, and automated rollbacks on day one. Get the basics running first. Add complexity only when you need it.
- Use Dependabot for dependency updates. Enable automated pull requests for outdated dependencies. This keeps your project secure without anyone having to remember to check manually.
Common Mistakes Small Teams Make with CI/CD
- Skipping tests because “we’ll add them later.” Tests are the whole point of CI. A pipeline that just runs a build and deploys is not much better than manual deployment. Write at least basic tests from the start.
- Making pipelines too slow. Developers start ignoring slow pipelines. They push code, go make coffee, come back, and fix whatever failed, if they even check. Speed is not a luxury; it’s a requirement.
- Not protecting the main branch. Without branch protection rules, someone will push directly to main and bypass the pipeline entirely. Lock it down.
- Running everything on every push. Not every check needs to run on every push to every branch. Be selective. Run full integration tests only on pull requests to main, not on every feature branch commit.
- Treating the pipeline as someone else’s responsibility. On a small team, the pipeline belongs to everyone. Every developer should understand how it works and be able to fix a failing workflow.
Conclusion
A CI/CD pipeline is not a luxury for large engineering teams. It is a foundational practice that helps any team, regardless of size ship better software, faster, and with more confidence.
Start simple. Pick one tool (GitHub Actions is the right default in 2026), set up a basic build and test pipeline, enable branch protection, and get your team used to the workflow. Complexity can come later. The important thing is to start.
Need help setting up a CI/CD pipeline or modernizing your development workflow? Monarch Innovation’s engineering team works with startups and growing businesses to design and implement reliable, scalable DevOps infrastructure. Get in touch with our team to discuss your project.